Mount'n Mover
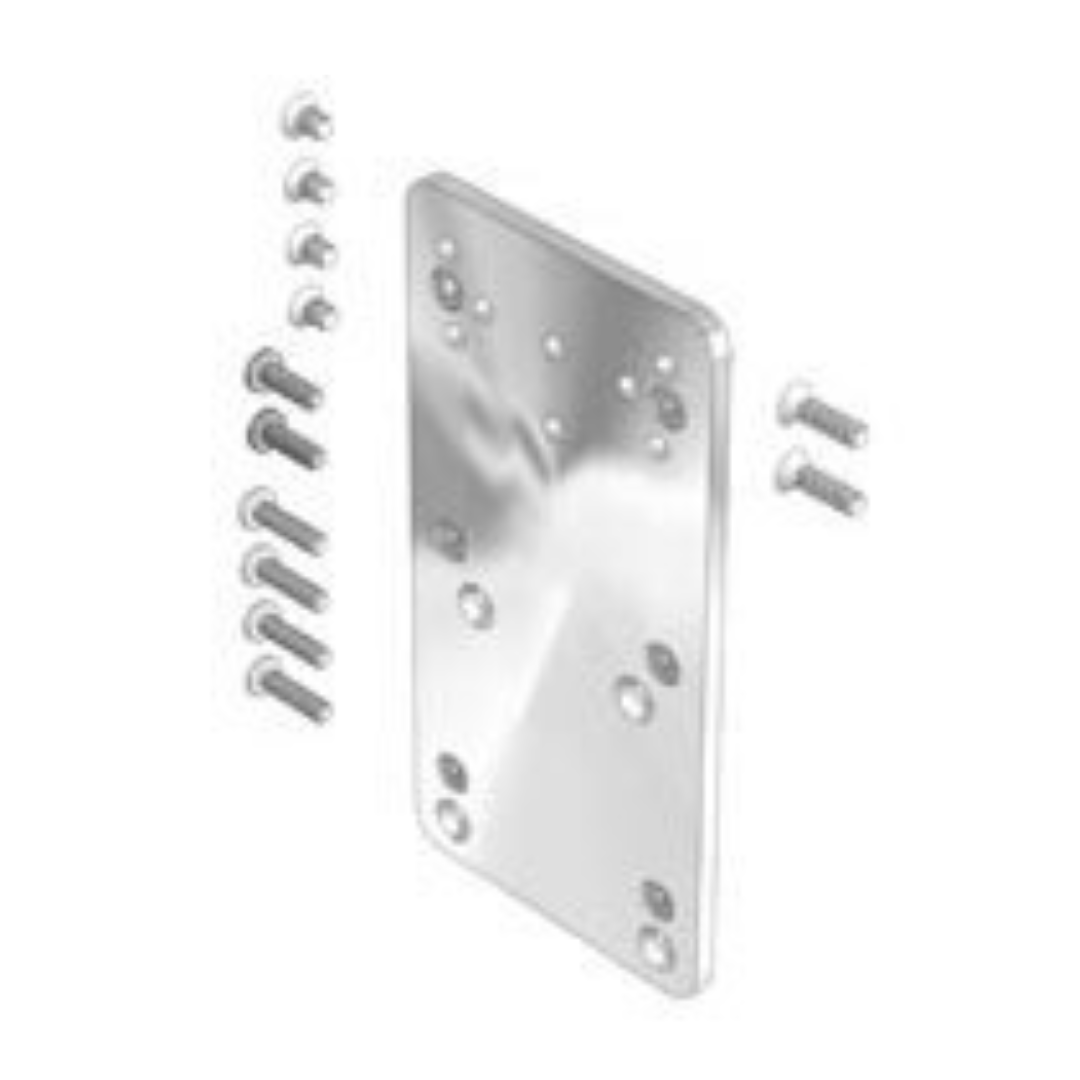
Tobii Dynavox Maestro, T10, T15, V, Vmax, M3, DV4, MT4 Device Plate
DP-DV1
¥542.00
-
장애인에 의해 설계되었습니다
장애인을 위해 -
100% 만족
보장하다 -
최저 비용 배송
카트로 인용
 장치 첨부 파일 소개
To attach your device to the Mount'n Mover system, you will need to determine how your device can attach to the Quick Release Plate (QRP).
Some devices attach directly to the QRP and others require an additional device specific attachment plate.
장치 첨부 안내서
Dynavox - Maestro
This device attachment requires the use of the Dynavox Maestro Mounting Bracket, available from Dynavox or BlueSky Designs.
제발 문의하기 if you want to get this thru BlueSky Designs
Step 1: Place the shallow spacers

Place the shallow spacers over the top three threaded holes on the Maestro.
- 삼 1/8" plastic spacers
Step 2: Attach the Maestro Mount Spacer

Attach the Maestro Mount Spacer over the plastic spacers placed in step 1, using the three screws provided.
- three #8-32 x ½" flat head screws
Dynavox - V or M3
Dynavox - Vmax
탱고
Instructions Coming Soon
If this does not match your device, 알려주세요. We want to help.
설명
 장치 첨부 파일 소개
To attach your device to the Mount'n Mover system, you will need to determine how your device can attach to the Quick Release Plate (QRP).
Some devices attach directly to the QRP and others require an additional device specific attachment plate.
장치 첨부 안내서
Dynavox - Maestro
This device attachment requires the use of the Dynavox Maestro Mounting Bracket, available from Dynavox or BlueSky Designs.
제발 문의하기 if you want to get this thru BlueSky Designs
Step 1: Place the shallow spacers

Place the shallow spacers over the top three threaded holes on the Maestro.
- 삼 1/8" plastic spacers
Step 2: Attach the Maestro Mount Spacer

Attach the Maestro Mount Spacer over the plastic spacers placed in step 1, using the three screws provided.
- three #8-32 x ½" flat head screws
Dynavox - V or M3
Dynavox - Vmax
탱고
Instructions Coming Soon
If this does not match your device, 알려주세요. We want to help.
선택된 변형
2.0 lb자주하는 질문
항목이 배송되면 주문과 관련된 전자 메일 주소로 추적 정보를 보낼 것입니다. 추적 정보를받지 못했고 영업일이 2 일이 넘는 경우 (012) 123-4567로 문의하십시오.
관련 상품
최근에 보았습니다
최근에 위시록
이 섹션에 선택 사항 설명을 추가하십시오


