Mount'n Mover
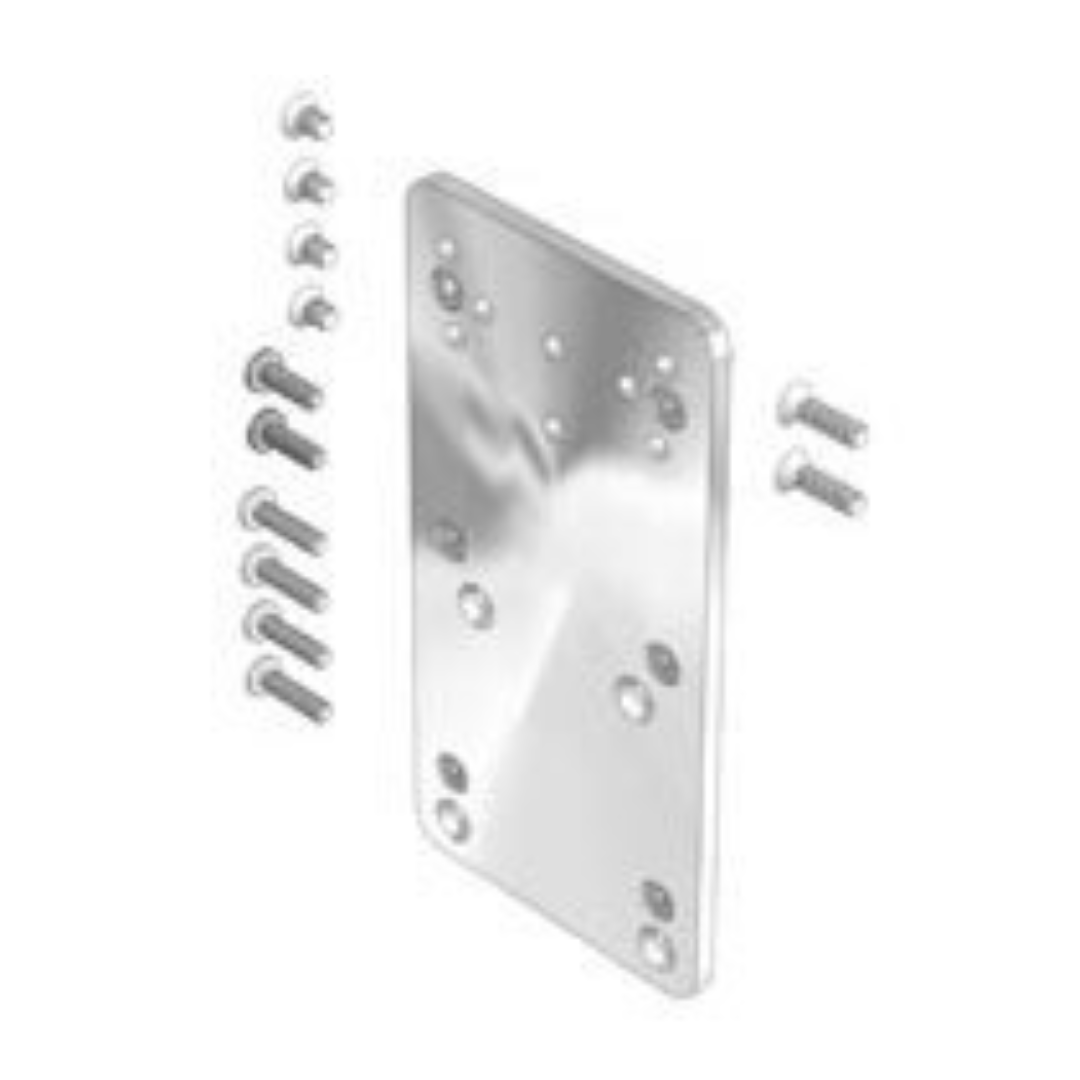
Tobii Dynavox Maestro, T10, T15, V, Vmax, M3, DV4, MT4 Device Plate
DP-DV1
€66,95
-
Ontworpen door de gehandicapten
voor gehandicapten -
100% tevredenheid
Garantie -
Laagste kosten verzending
Geciteerd in kar
 Introduction to Device Attachment
To attach your device to the Mount'n Mover system, you will need to determine how your device can attach to the Quick Release Plate (QRP).
Some devices attach directly to the QRP and others require an additional device specific attachment plate.
Device Attachment Guide
Dynavox - Maestro
This device attachment requires the use of the Dynavox Maestro Mounting Bracket, available from Dynavox or BlueSky Designs.
Alstublieft Neem contact met ons op if you want to get this thru BlueSky Designs
Step 1: Place the shallow spacers

Place the shallow spacers over the top three threaded holes on the Maestro.
- drie 1/8" plastic spacers
Step 2: Attach the Maestro Mount Spacer

Attach the Maestro Mount Spacer over the plastic spacers placed in step 1, using the three screws provided.
- three #8-32 x ½" flat head screws
Dynavox - V or M3

DP-DV1 : Rev 7
My plate looks different!
Direct attachment to my QRP
Dynavox - Vmax
Tango
Instructions Coming Soon
If this does not match your device, laat het ons weten. We want to help.
Beschrijving
 Introduction to Device Attachment
To attach your device to the Mount'n Mover system, you will need to determine how your device can attach to the Quick Release Plate (QRP).
Some devices attach directly to the QRP and others require an additional device specific attachment plate.
Device Attachment Guide
Dynavox - Maestro
This device attachment requires the use of the Dynavox Maestro Mounting Bracket, available from Dynavox or BlueSky Designs.
Alstublieft Neem contact met ons op if you want to get this thru BlueSky Designs
Step 1: Place the shallow spacers

Place the shallow spacers over the top three threaded holes on the Maestro.
- drie 1/8" plastic spacers
Step 2: Attach the Maestro Mount Spacer

Attach the Maestro Mount Spacer over the plastic spacers placed in step 1, using the three screws provided.
- three #8-32 x ½" flat head screws
Dynavox - V or M3

DP-DV1 : Rev 7
My plate looks different!
Direct attachment to my QRP
Dynavox - Vmax
Tango
Instructions Coming Soon
If this does not match your device, laat het ons weten. We want to help.
Geselecteerde variant
2.0 lbFAQ
We sturen trackinginformatie naar het e-mailadres dat aan uw bestelling is gekoppeld zodra het item is verzonden. Als u uw trackinginformatie niet hebt ontvangen en deze meer dan 2 werkdag is geweest, neem dan contact met ons op via (012) 123 - 4567
gerelateerde producten
Recent bekeken
Onlangs verlanglijst
Voeg optionele beschrijving toe aan dit gedeelte


