Mount'n Mover
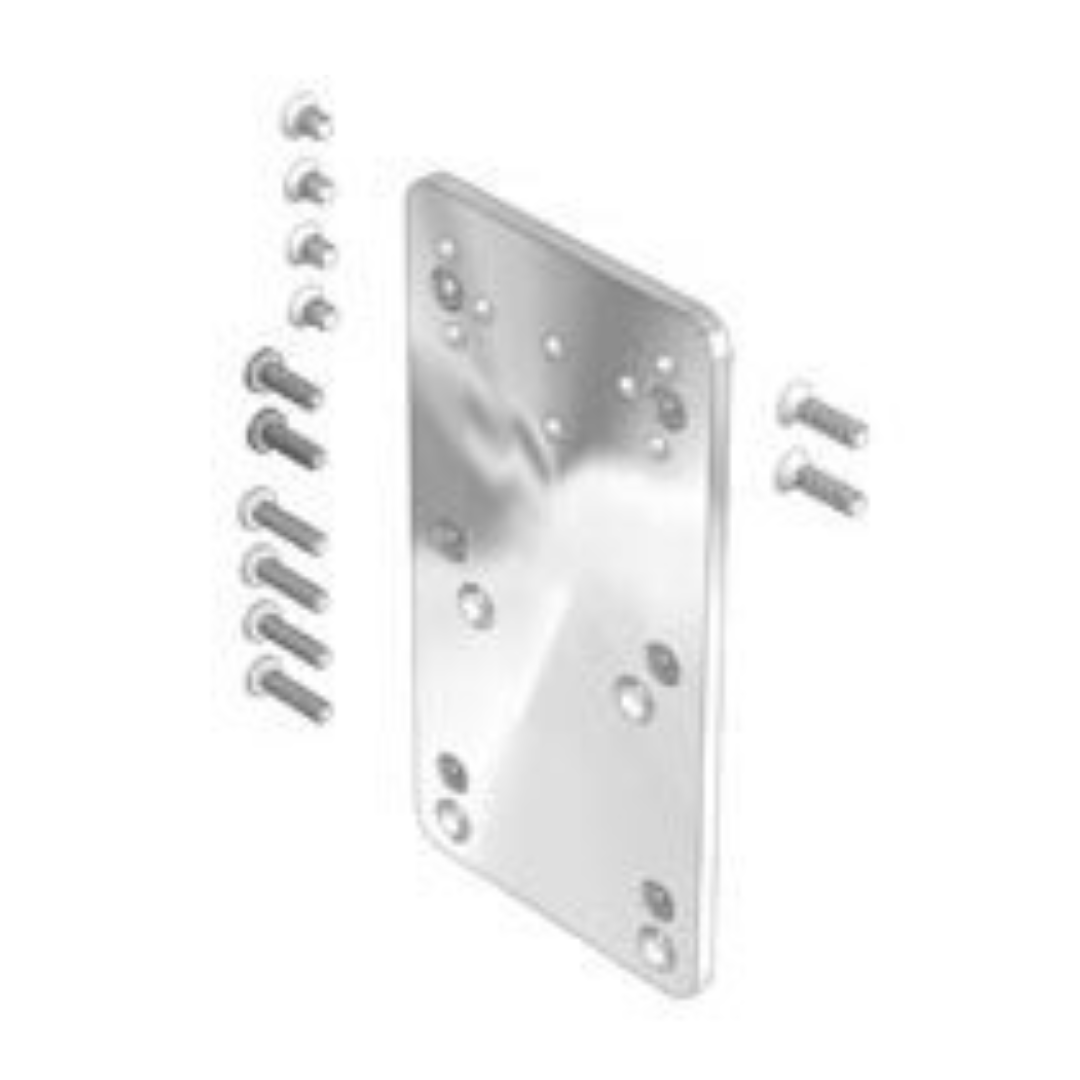
Tobii Dynavox Maestro, T10, T15, V, Vmax, M3, DV4, MT4 Device Plate
DP-DV1
₴3,575.00
-
Designed by the Disabled
for the Disabled -
100% Satisfaction
Guarantee -
Lowest Cost Shipping
Quoted in Cart
 Wprowadzenie do załącznika urządzenia
To attach your device to the Mount'n Mover system, you will need to determine how your device can attach to the Quick Release Plate (QRP).
Some devices attach directly to the QRP and others require an additional device specific attachment plate.
Podręcznik załącznika urządzenia
Dynavox - Maestro
This device attachment requires the use of the Dynavox Maestro Mounting Bracket, available from Dynavox or BlueSky Designs.
Proszę Skontaktuj się z nami if you want to get this thru BlueSky Designs

Step 1: Place the shallow spacers

Place the shallow spacers over the top three threaded holes on the Maestro.
- trzy 1/8" plastic spacers
Step 2: Attach the Maestro Mount Spacer

Attach the Maestro Mount Spacer over the plastic spacers placed in step 1, using the three screws provided.
- three #8-32 x ½" flat head screws
Step 3: Attach the DP-DV1

Attach the DP-DV1 using:
- two #8-32 x ½" pan head screws
Krok 4: Dołącz QRP

Attach the Quick Release Plate using the four shortest screws.
- cztery śruby z płaską głowę #8-32 x ¼ "
Dynavox - V or M3


DP-DV1 : Rev 7
My plate looks different!
Direct attachment to my QRP
Step 1: Attach the DP-DV1

Attach the DP-DV1 to the two threaded holes on the device using the two screws provided.
- two #8-32 x ⅜" pan head screws
Krok 2: Dołącz QRP

Przymocuj płytkę szybkiego uwalniania za pomocą czterech krótszych śrub.
- cztery śruby z płaską głowę #8-32 x ¼ "
Dynavox - Vmax


Step 1: Attach the DP-DV1

Attach the DP-DV1 to the two threaded holes on the device using the two screws provided.
- two #8-32 x ⅜" pan head screws
Krok 2: Dołącz QRP

Przymocuj płytkę szybkiego uwalniania za pomocą czterech krótszych śrub.
- cztery śruby z płaską głowę #8-32 x ¼ "
Tango
Instructions Coming Soon
If this does not match your device, Daj nam znać. We want to help.
Description
Wprowadzenie do załącznika urządzenia
To attach your device to the Mount'n Mover system, you will need to determine how your device can attach to the Quick Release Plate (QRP).
Some devices attach directly to the QRP and others require an additional device specific attachment plate.
Podręcznik załącznika urządzenia
Dynavox - Maestro
This device attachment requires the use of the Dynavox Maestro Mounting Bracket, available from Dynavox or BlueSky Designs.
Proszę Skontaktuj się z nami if you want to get this thru BlueSky Designs
Step 1: Place the shallow spacers
Place the shallow spacers over the top three threaded holes on the Maestro.
- trzy 1/8" plastic spacers
Step 2: Attach the Maestro Mount Spacer
Attach the Maestro Mount Spacer over the plastic spacers placed in step 1, using the three screws provided.
- three #8-32 x ½" flat head screws
Step 3: Attach the DP-DV1
Attach the DP-DV1 using:
- two #8-32 x ½" pan head screws
Krok 4: Dołącz QRP
Attach the Quick Release Plate using the four shortest screws.
- cztery śruby z płaską głowę #8-32 x ¼ "
Dynavox - V or M3
DP-DV1 : Rev 7
My plate looks different!
Direct attachment to my QRP
Step 1: Attach the DP-DV1
Attach the DP-DV1 to the two threaded holes on the device using the two screws provided.
- two #8-32 x ⅜" pan head screws
Krok 2: Dołącz QRP
Przymocuj płytkę szybkiego uwalniania za pomocą czterech krótszych śrub.
- cztery śruby z płaską głowę #8-32 x ¼ "
Dynavox - Vmax
Step 1: Attach the DP-DV1
Attach the DP-DV1 to the two threaded holes on the device using the two screws provided.
- two #8-32 x ⅜" pan head screws
Krok 2: Dołącz QRP
Przymocuj płytkę szybkiego uwalniania za pomocą czterech krótszych śrub.
- cztery śruby z płaską głowę #8-32 x ¼ "
Tango
Instructions Coming Soon
If this does not match your device, Daj nam znać. We want to help.
F.A.Q
We will send tracking information to the e-mail address associated with your order once the item has shipped. If you have not received your tracking information and it has been over 2 business day, please contact us at (012) 123 - 4567
Related Products
Recently Viewed
Recently Wishlisted
Add on optional description to this section
Let customers speak for us

I’ll write something later, I’m still learning to work it efficiently.

Excellent
Excellent

This is at least the second of this model. My daughter has a power chair and uses it to get more time to use her iPad.

Excellent
Excellent


My son was paralyzed in an atv accident Aug 2020. He is 6'3" and 250. His injury is c6-c7. He feels so free and relaxed in the water but nobody had anything but regular life jackets so we would have to add a pool noodle to support his head and neck and a square flat float to hug in front. We also had a problem because he isn't a small man. Nothing that would allow his arms free so he could get some exercise. This life jacket has helped a lot. There are a few tweaks with the neck and crotch straps. If they weren't tight enough in the crotch area then his head could slip lower even though we had the neck piece as secured as we could. But the crotch straps when tightened too much they would be a little irritating and cause Autonomic Dysreflexia. I think I will try adding a pad of some sort around the straps. That was the only issue other than the cost, but we would pay anything to see that smile on his face! Now we just need to buy a pool for our own backyard so we don't have to go on vacation to swim. Thank You! I would highly recommend this life jacket. From a very happy mom that cried with happiness to see her son in a pool and able to move around.
I use it today for the first time. My son love it!

My husband who had been diagnosed with Bulbar ALS disease for 2 years at the age of 63 had all his symptoms reversed with Ayurveda medicine from naturalherbscentre. com after undergoing their ALS/MND natural protocol, he no longer requires a feeding tube. God Bless all Lou Gehrig’s disease Caregivers. Stay Strong, take small moments throughout the day to thank yourself, to love your self, and pray to whatever faith, star, spiritual force you believe in and ask for strength. I can personally vouch for these remedy but you would probably need to decide what works best for you.

I used a comfort carrier @ Disney and lost the case

RoboHandle Ergonomic Tool Handle


