Mount'n Mover
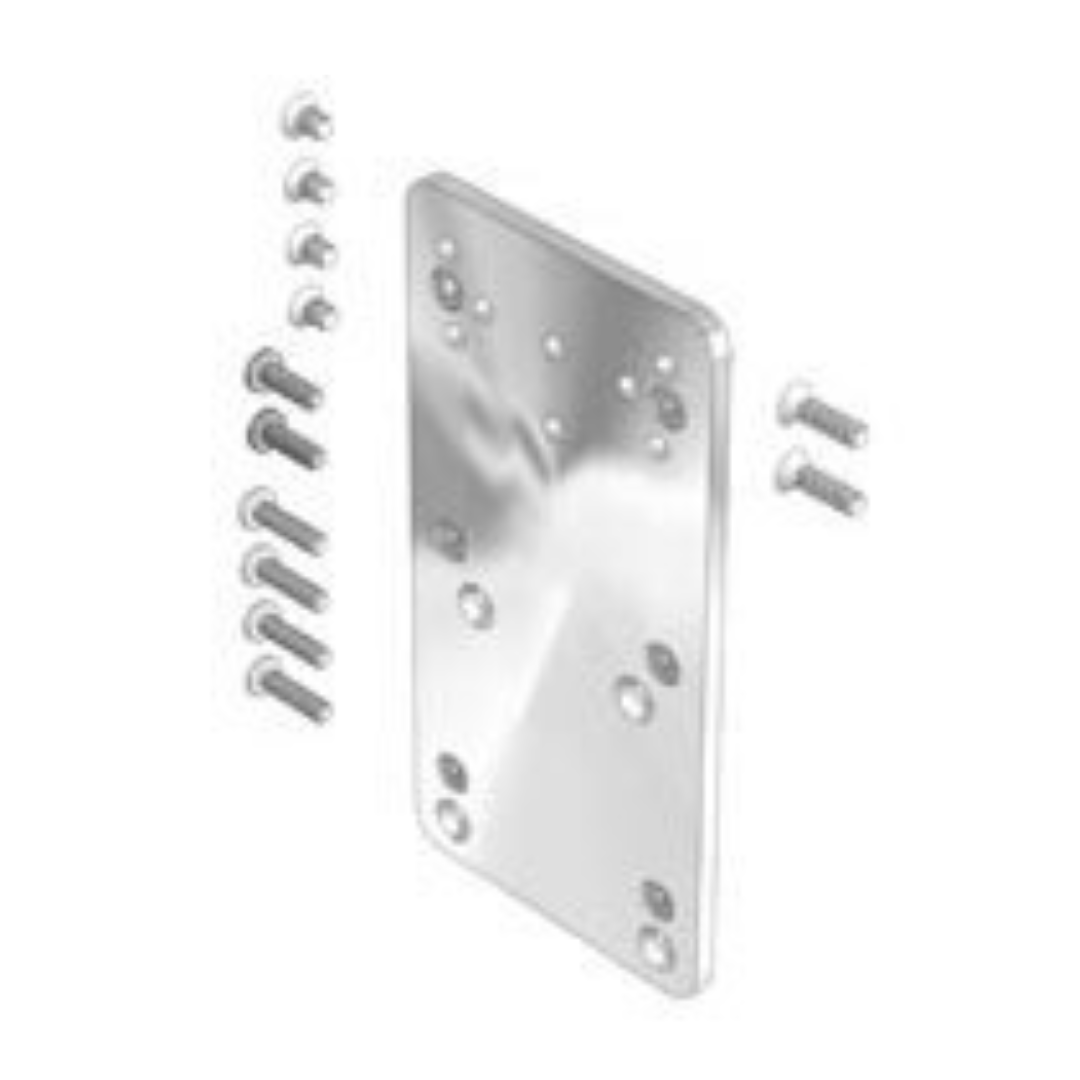
Tobii Dynavox Maestro, T10, T15, V, Vmax, M3, DV4, MT4 Device Plate
DP-DV1
R$ 423,00
-
Desenhado pelos deficientes
para os desativados -
100% de satisfação
Garantia -
Envio de custo mais baixo
Citado em carrinho
 Introduction to Device Attachment
To attach your device to the Mount'n Mover system, you will need to determine how your device can attach to the Quick Release Plate (QRP).
Some devices attach directly to the QRP and others require an additional device specific attachment plate.
Device Attachment Guide
Dynavox - Maestro
This device attachment requires the use of the Dynavox Maestro Mounting Bracket, available from Dynavox or BlueSky Designs.
Por favor Contate-Nos if you want to get this thru BlueSky Designs
Step 1: Place the shallow spacers

Place the shallow spacers over the top three threaded holes on the Maestro.
- três 1/8" plastic spacers
Step 2: Attach the Maestro Mount Spacer

Attach the Maestro Mount Spacer over the plastic spacers placed in step 1, using the three screws provided.
- three #8-32 x ½" flat head screws
Dynavox - V or M3

DP-DV1 : Rev 7
My plate looks different!
Direct attachment to my QRP
Dynavox - Vmax
Tango
Instructions Coming Soon
If this does not match your device, Por favor nos informe. We want to help.
Descrição
 Introduction to Device Attachment
To attach your device to the Mount'n Mover system, you will need to determine how your device can attach to the Quick Release Plate (QRP).
Some devices attach directly to the QRP and others require an additional device specific attachment plate.
Device Attachment Guide
Dynavox - Maestro
This device attachment requires the use of the Dynavox Maestro Mounting Bracket, available from Dynavox or BlueSky Designs.
Por favor Contate-Nos if you want to get this thru BlueSky Designs
Step 1: Place the shallow spacers

Place the shallow spacers over the top three threaded holes on the Maestro.
- três 1/8" plastic spacers
Step 2: Attach the Maestro Mount Spacer

Attach the Maestro Mount Spacer over the plastic spacers placed in step 1, using the three screws provided.
- three #8-32 x ½" flat head screws
Dynavox - V or M3

DP-DV1 : Rev 7
My plate looks different!
Direct attachment to my QRP
Dynavox - Vmax
Tango
Instructions Coming Soon
If this does not match your device, Por favor nos informe. We want to help.
Variante selecionada
2.0 lbPERGUNTAS FREQUENTES
Enviaremos informações de rastreamento para o endereço de e-mail associado ao seu pedido assim que o item tiver enviado. Se você não recebeu suas informações de rastreamento e foram mais de 2 dias úteis, entre em contato conosco pelo telefone (012) 123 - 4567
produtos relacionados
Visualizado recentemente
Recentemente lista de desejos
Adicione a descrição opcional a esta seção


